

Spring is on the horizon, which means baby chick season is almost here! If you’re thinking about raising backyard chickens but don’t know where to start, then you’re in the right place. I’m sharing my preparing for baby chicks checklist in this post!


Preparing for baby chicks checklist
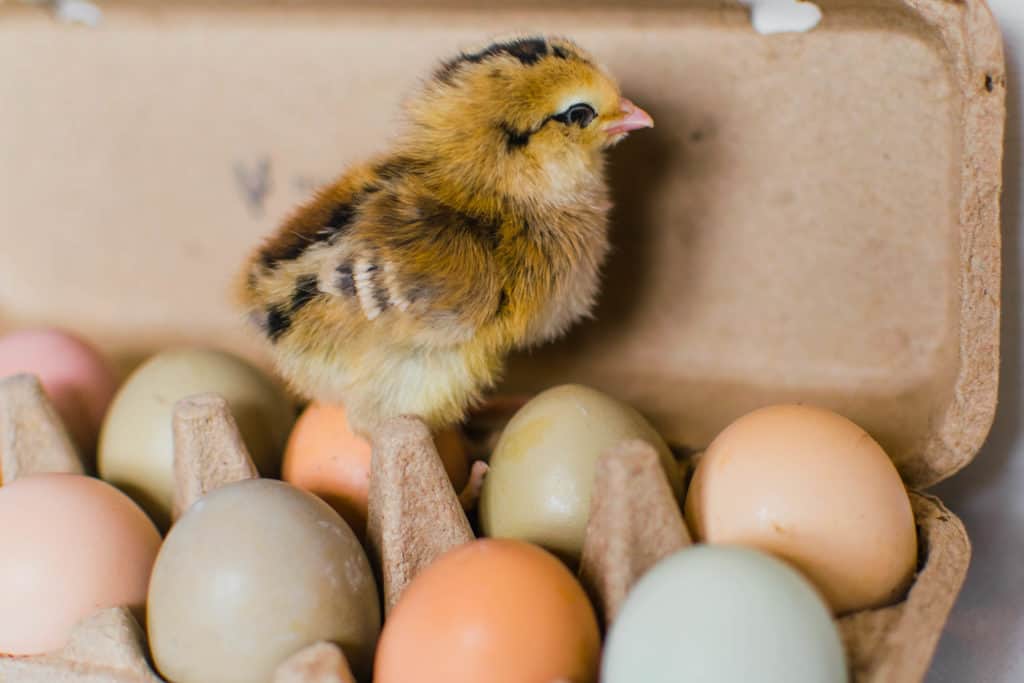
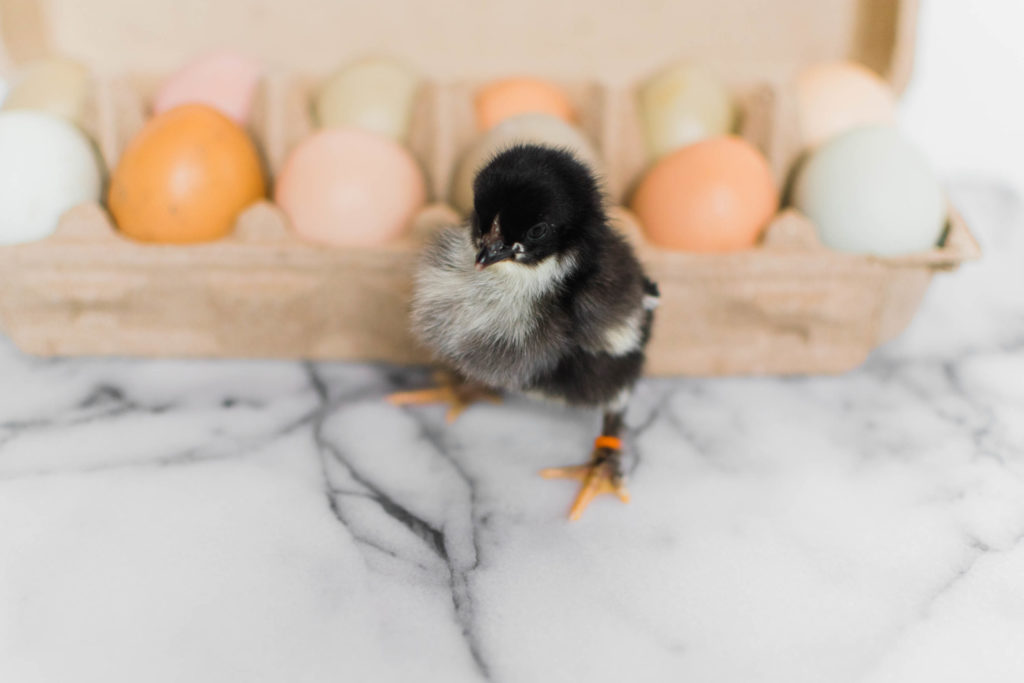
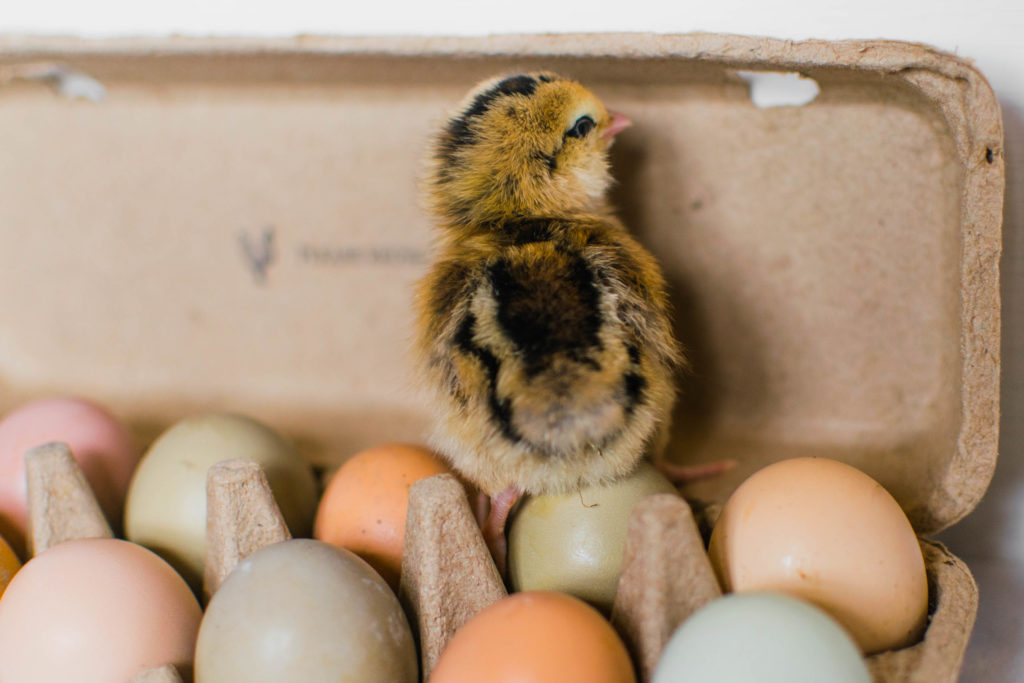
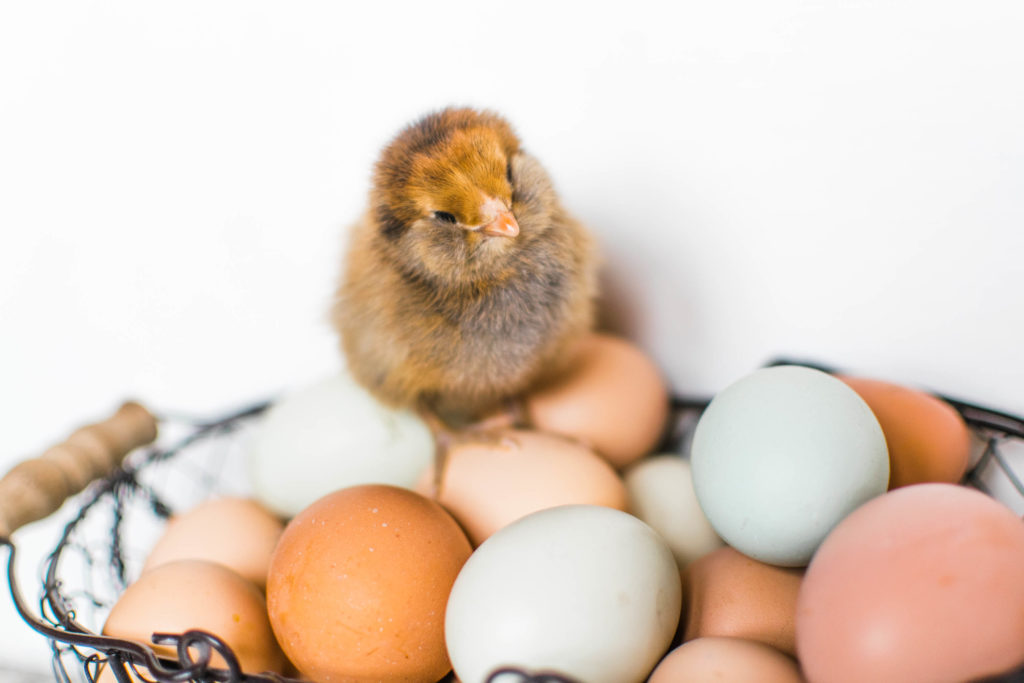
If you follow along on Instagram, then you already know that we added another 17 baby chicks and 20 ducklings to our homestead. (We sadly lost 6 ducklings, so now our count is down to 14.) It’s been a while since we’ve expanded our flock, so our family has been having SO much fun caring for our new additions! Raising baby chicks and ducklings is such an incredible experience for little ones – the kids absolutely love it!
Even though baby chicks are ridiculously adorable, it’s important to adequately prepare for your new chicks in order to keep them happy and healthy. If you’ve been trying to decide the best way to prepare for your baby chicks, then my checklist will get you started and keep you organized!
Step 1: Plan your time wisely
If you’re ordering your day old baby chicks from an online hatchery (we love My Pet Chicken), then you will have an approximate ship date upon ordering. Once your babies ship, you will receive tracking information. Although delivery date can vary, we’ve always been able to pick up our baby chicks the following morning/early afternoon at the Post Office. (Check out this post for more information about arranging for Post Office pickup!)
When preparing for baby chicks, plan to spend the next 24 hours at home (if possible.) Depending on work schedules and other obligations, this can obviously be tricky. With that being said, I highly recommend spending as much time at home as possible during those first 24 hours. From our personal experience, the first 24-48 hours are critically important for health and survival.

Step 2: Decide on your brooder box
We usually use a large plastic storage container for the first few days. Head over to this post for more DIY brooder box ideas! Having an appropriate brooder box is an essential component in my preparing for baby chicks checklist.
Step 2: Purchase all necessary materials
Baby chicks aren’t overly difficult to raise, but you still need to purchase necessary materials to keep your chicks happy and healthy. Below is a preparing for baby chicks checklist/shopping list:
- Brooder Box (you can use a large plastic storage container for the first week or so)
- Heating Plate Kit
- Chick Starter Kit (Feeder & Waterer):
- Chick Nipple Drinker
- Electrolytes
- Probiotics
- Chick Starter Crumbles
- Chick Grit
- Coop Refresher
Step 3: Set up your brooder the night before pickup
In order to stay organized, set up your brooder box the night before picking up your chicks. When you bring your babies home, you’ll want to move quickly to get them hydrated and warm, so it’s best to have everything set up ahead of time. Nobody wants to be fidgeting with a heater with a box full of baby chicks! This is an important component in my preparing for baby chicks checklist.
Step 4: Bringing baby chicks home
After picking up your chicks from the post office, immediately bring them home. Open the box and quickly check if everyone looks healthy. Occasionally, one of your chicks may not make it through the stress of transportation. Contact the hatchery if you experience a loss.
One by one, gently dunk the chick’s beak in water and MAKE SURE that she swallows. Chicks absolutely need water immediately upon arrival in order to survive. Gently place the chick in the brooder box, and move on to having your second chick drink water. Follow the steps until all chicks have successfully drank water and are safely in the brooder box. This might be the most important step in my preparing for baby chicks checklist!
Step 5: Monitor
Again, the first 24-48 hours are the most critical for survival. On more than one occasion, I’ve had to nurse a very weak chick back to health during the first 24 hours. If I would have been away from the house, then I would have missed the early signs of poor health, which would have likely resulted in death. Appropriate monitoring is definitely an essential component in my preparing for baby chicks checklist!
What should you monitor for, exactly? The below list is NOT exhaustive by any means, but it outlines the two issues that we have experienced during the first week of life: weakness and pasty butt.
General weakness & pasty butt
Weakness: Healthy chicks will alternate between taking naps under the heater and running out for food/grit/water/play. If you notice one girl with squinty eyes, or if she is not moving, eating, and/or drinking as much as the rest of the flock, then it’s time to take action. Gently pick up the weak chick and dunk her beak in the water dish. Repeat this every 30ish minutes until you notice the chick regaining energy. Continue to monitor the chick!
Pasty butt:
Baby chicks are extremely prone to pasty butt, which essentially means that their poop sticks and dries to their vent (aka butt), which can ultimately become fatal if not treated. (This is exactly why staying home for the first 24 hours and frequently monitoring your chicks is so important!) When caught early, the treatment is simple. GENTLY remove the dried poop with a WARM cloth. Please, remember to be gentle to prevent injury. Gently dry the chick’s bottom (some people use a hair dryer, but we simply pat dry and place under the heater.) This process can be extremely stressful, so move quickly. After cleaning, make sure your chick is still eating/drinking as usual. If your chick has pasty butt once, then she’ll likely have it again. The quicker you catch it, the easier it is to clean, so again – monitor frequently!
Looking for more tips for raising backyard chickens and preparing for baby chicks? Check out these posts:
- Caring for baby chicks: a guide for raising baby chicks
- DIY chick brooder box ideas
- 5 reasons to keep backyard chickens (& why you need them NOW!)
- Tips for building a chicken coop
- Homesteading shortcuts to make raising chickens easier